Reducing footage size is a useful practice for various reasons, such as saving storage space, optimizing video files for online sharing or even keeping raw footage on file while not occupying tons of disk space.
We’re here to guide you with some insightful methods on how to gracefully reduce footage size and ensure that you’ll achieve efficient storage without compromising too much on quality.
Understanding Resolution, Bitrate and Codec
To start off, let’s figure out what’s really important in determining how big or small a video file will be. Three key things come into play here: Resolution, Bitrate, and Codec.
These three buddies team up to balance how good the video looks and how much space it takes up. We’ll get into the nitty-gritty details of how they work together in a bit, but first, let’s break down these three elements in simple terms.
- Resolution refers to the number of pixels in an image or video, usually represented as width x height (e.g. 1920×1080 for Full HD). When you reduce the resolution of a video, you are essentially decreasing the number of pixels, which directly impacts the overall size of the video file.
- Bitrate refers to the amount of data that is processed per unit of time in a video (usually measured in bits per second, or Mbps). It’s like the flow of information – the higher the bitrate, the more details are captured in the video, which also means a larger file size. Lowering the bitrate means less data is processed, resulting in a smaller file size.
- A codec is a software or hardware tool and the chosen codec uses compression techniques to make the video file more compact. It identifies redundancies and eliminates unnecessary data. One tip here is that some codecs can maintain better quality at lower bitrates compared to others. For example, the newer H.265 (HEVC) codec generally offers better compression efficiency than its predecessor, H.264, allowing for smaller file sizes at similar qualities.
The objective, when shrinking a video file size, is finding the right balance between resolution, bitrate, and codec to achieve the desired quality within the target file size. This involves choosing a codec that efficiently compresses the video while adjusting the resolution and bitrate accordingly.
Reducing footage size: step-by-step guides
Let’s now take a look at the tools you can use to achieve good results when reducing video files in bulk, we recommend either Media Encoder (if you have an Adobe account with Premiere Pro, this software comes included), or Handbrake, a free and open source tool.
Adobe Media Encoder
Media Encoder stands out as the premier software solution when it comes to effortlessly encoding a substantial volume of video files in one go. While it isn’t available for free, Adobe offers a convenient monthly subscription model. This enables you to simply subscribe for a single month, giving you the flexibility to conduct all your necessary encoding within a span of a few days.
Step 1: Fire up Adobe Media Encoder on your computer and drag and drop your raw footage into the program, there you’ll see it lined up in the queue.

Step 2: Choose a Preset (or Customize) – Pick a preset style and import it into Media Encoder Creative Cloud if you want to keep things swift. These presets are like pre-designed settings for your video, and you can easily discover and download your preferred preset through a quick online search.

Step 3: Set the Format and Codec – Choose the format you want for your final video. H.264 or H.265 codecs are your highly recommended tools here, like brushes in an artist’s kit, because they help you find the sweet spot between quality and size.
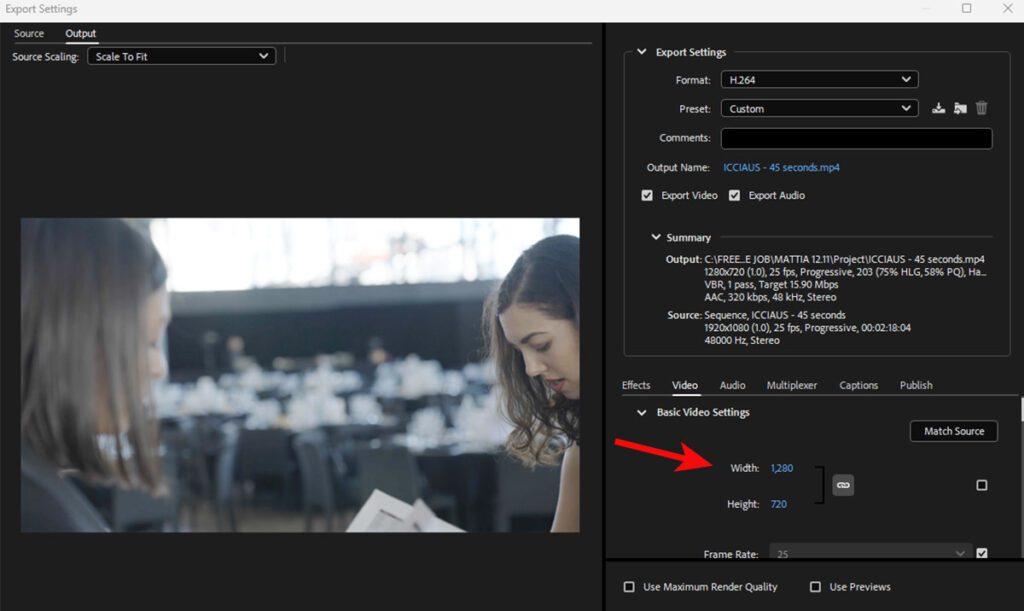
Step 4: Tweak Bitrate and Resolution – Here’s where you play with quality and size: Lower the bitrate and resolution for a smaller video.
Regarding the resolution, to shrink video dimensions, select a lower resolution from the dropdown menu. For instance, if your original is 1920×1080 (Full HD), a good starting point for review is to consider dropping it to 1280×720 (HD).
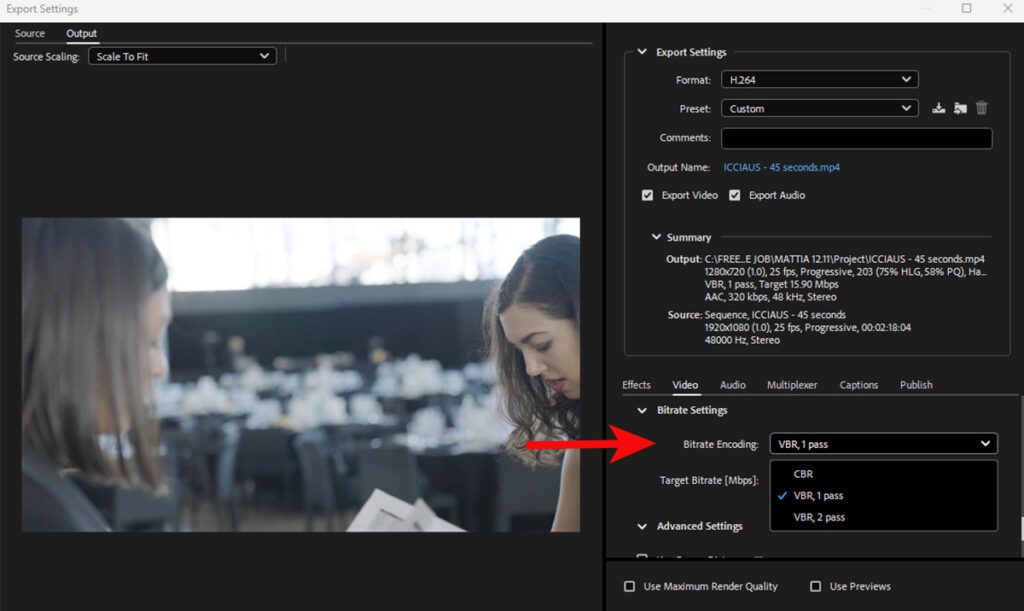
Turning to bitrate, click on the bitrate dropdown and you’ll see VBR (Variable Bitrate) 1 Pass and 2 Pass, with the specific value for quality optimization not fixed, using the slider to adjust it. Both VBR adapt to the content’s complexity, ensuring that more intricate scenes receive higher bitrates to maintain quality, and simpler scenes receive lower bitrates to save space.
- VBR 1 Pass: adjusts bitrate dynamically during encoding. VBR 1 Pass is quick and ideal for videos where speed is crucial (a quick render). It’s great for online content or previews.
- VBR 2 Pass: takes a more calculated approach. In the first pass, it analyzes the entire video, noting complexity. In the second pass, it optimizes bit allocation based on the analysis, ensuring consistent quality. Choose VBR 2 Pass when video quality is a priority. It’s excellent for final exports or videos where consistent quality matters.
Step 5: Save your smaller video files wherever you want. Click on the Output File, if you want to change the output name or location.
Step 6: Hit the Go Button – When you’re satisfied with the settings, hit the green “Start Queue” button and Adobe Media Encoder now does the crunching, transforming your footage. Remember to preview your changes via using the preview window to see how your adjustments impact the video quality.
Handbrake
Handbrake is a free and open source video transcoder, available for Mac and PC, and it’s a great choice if you’re looking to reduce footage and video file size in bulk.
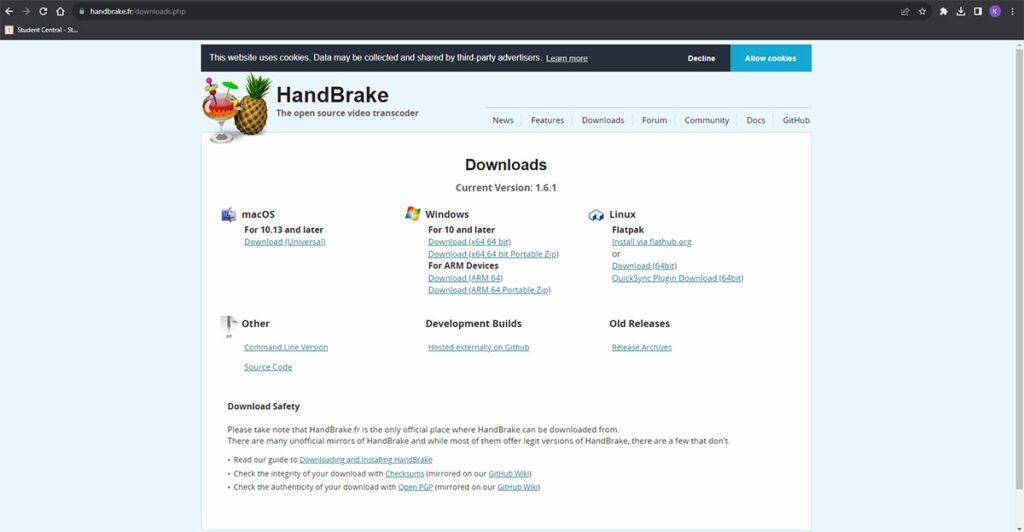
Step 1: Go to https://handbrake.fr/downloads.php and select the correct platform for your operating system.
Step 2: Open HandBrake and select ‘File’ from the toolbar. Locate your video file on your PC/laptop and click ‘Open File’.
To speed things up, our usual trick is simply dragging that video right into Handbrake. Give it a shot too – you’ll notice it quickly scans the video. However, it’s a good idea to have a look at the original video details beforehand. Things like size, length of video, resolution, frame rate – all this info matters and can impact how you make adjustments later on.
Step 3: Regarding the output settings, there’s a key pointer we always highlight: keep it in “MP4” format and make sure to check the box that says “Web Optimized”.
On the right side, you’ll spot the “Presets” section, where you can decide how you want your video to turn out. If you prefer high definition, you can go for “1080p”. If you’re after even more size reduction, “Fast 720p30” is a solid option. However, we suggest not going below 720p for the video quality.

These settings are in the main selection area. But if you scroll down a bit, you’ll find more presets at your disposal. Still, our overall recommendation leans toward the one we just mentioned.
Step 4: Select ‘Browse’ and choose a location for your new file. Enter a filename and click ‘Save’.
Now, observe the dimensions of the video right there in the picture box. Moving over to the video box, we strongly suggest sticking with the H.264 codec. As for the quality, it’s worth noting that altering it here won’t make a noticeable difference, so it’s best to leave it as is.
Step 5: Click ‘Start Encode’ to start the compression. Depending on your computer’s speed and size of the file, this operation could take several minutes.
If you have multiple videos to compress, you can queue your files using the ‘Add to Queue’ button. HandBrake will convert all the files you have added to the queue.
Step 6: Once your files are compressed, it’s a good idea to double-check that they play smoothly and correctly before putting them to use for your intended purposes.