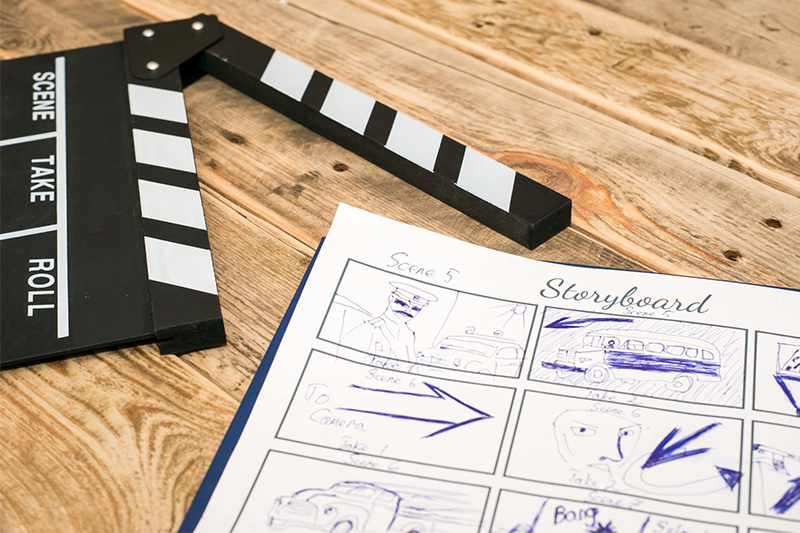
Proper video production planning requires a storyboard, a shot-by-shot visual representation of what your video will look like.
How do we make one? There are many ways, but what we found works best for most people is to use a simple tool like Microsoft Powerpoint, or a similar software like Google Slides and Apple Keynote.
Before diving into the process, let’s take a look at some key aspects to keep in mind:
- A storyboard doesn’t need to be pretty, it rather needs to be functional
- If you can’t sketch, you can use pictures
- You don’t need to include every single shot
- The more notes, the better
Creating a storyboard for video production: our recommended approach
Let’s go through the process of creating the storyboard for your next video and film production. These steps are what we found work best most of the time, using no professional tools or paid platforms, and with no drawing skills required.
1. Script to storyboard
Once your script (or screenplay) is ready, it’s time to lay down the foundation of a storyboard.
Open your Powerpoint and start laying down your script, phrase by phrase, on the lower part of each slide. For each phrase, use a separate slide.
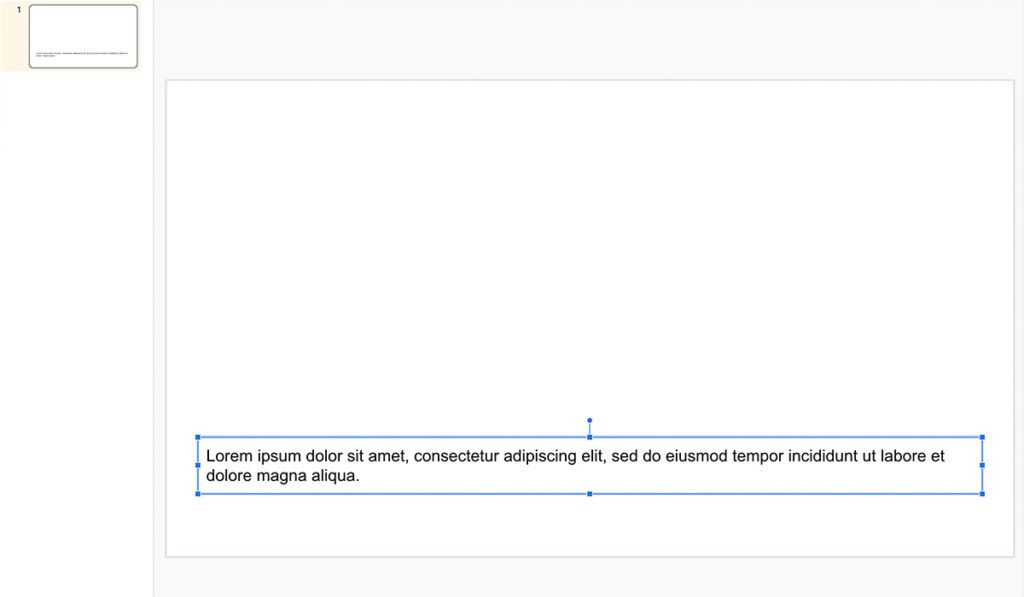
After completing this process, you will have one Powerpoint slide per phrase, and you can then move to the next step.
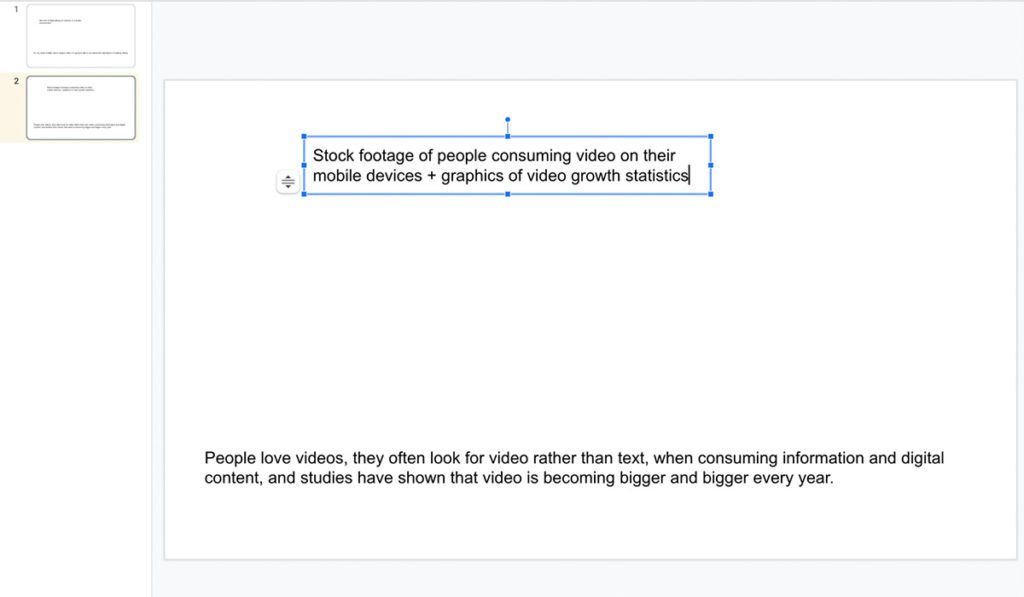
2. Video annotations
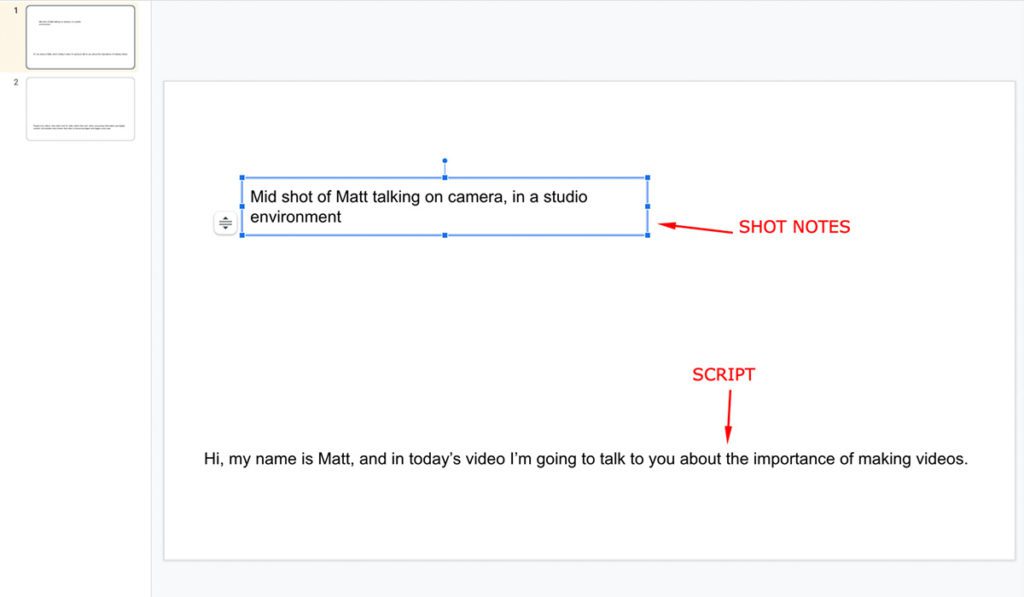
For each Powerpoint slide, start writing notes of who and/or what you want to include in the frame.
Here’s a 2-slide example:
Now, do you remember that during step 1 you created one slide per phrase?
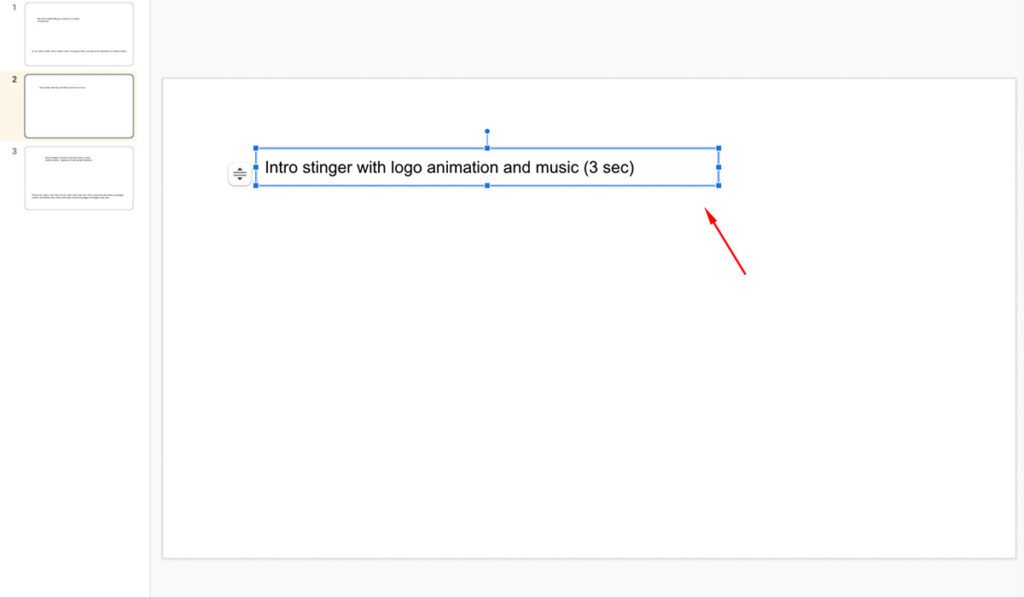
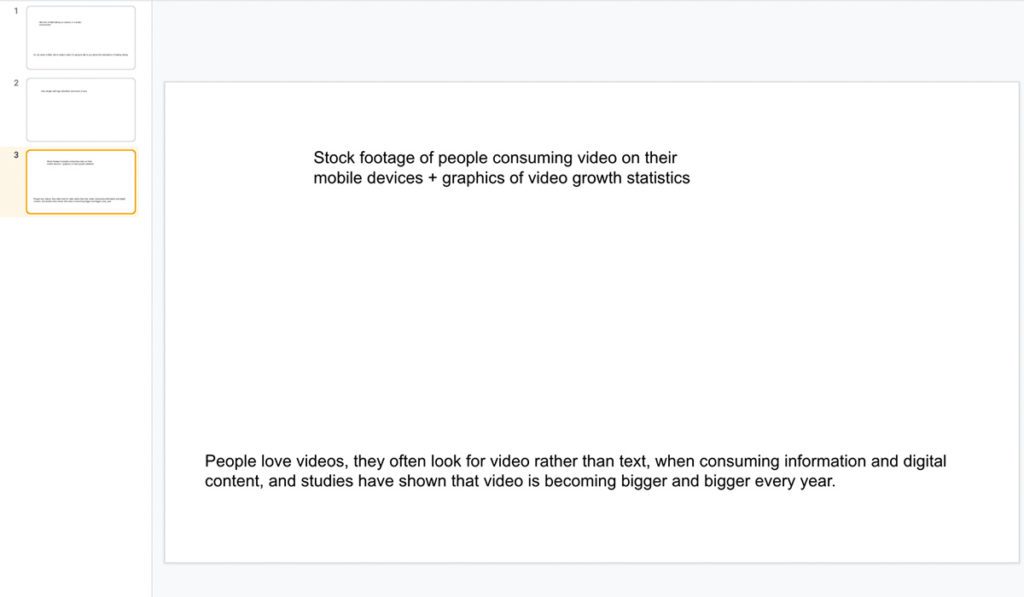
If during the process you want to break your script and create visual pauses between phrases, you are more than welcome to do that. All you need to do is INSERT a new slide at any point in your document, obviously with no script, and annotate the types of visuals that you want to include.
Here’s the same example, with the abovementioned alteration applied:
This creative process will take some time, depending on the length of your video, but it is the part where you get to visualise the final video in your head, shot after shot, and start imagining it as you go, so it’s really important that you annotate as many details as possible for each slide, so whoever will pick up this storyboard next will be able to visualise your same concept and understand your idea.
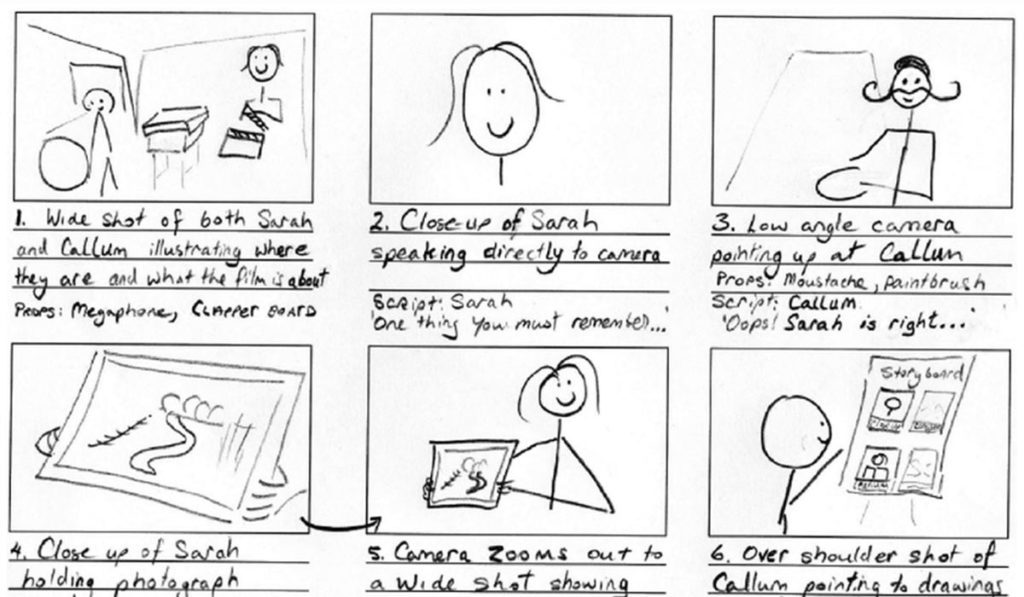
3. Turn visual annotations into pictures or sketches
With this step, each slide’s video annotation should be replaced with an actual image, which can be a picture, a screenshot, or a manual sketch.
It doesn’t matter which type of image you choose. If you’re good at drawing and you want to sketch it yourself, by all means, knock yourself out and show us your talent. This is the best way to include exactly what you want in each shot, and the storyboard will look quite professional.
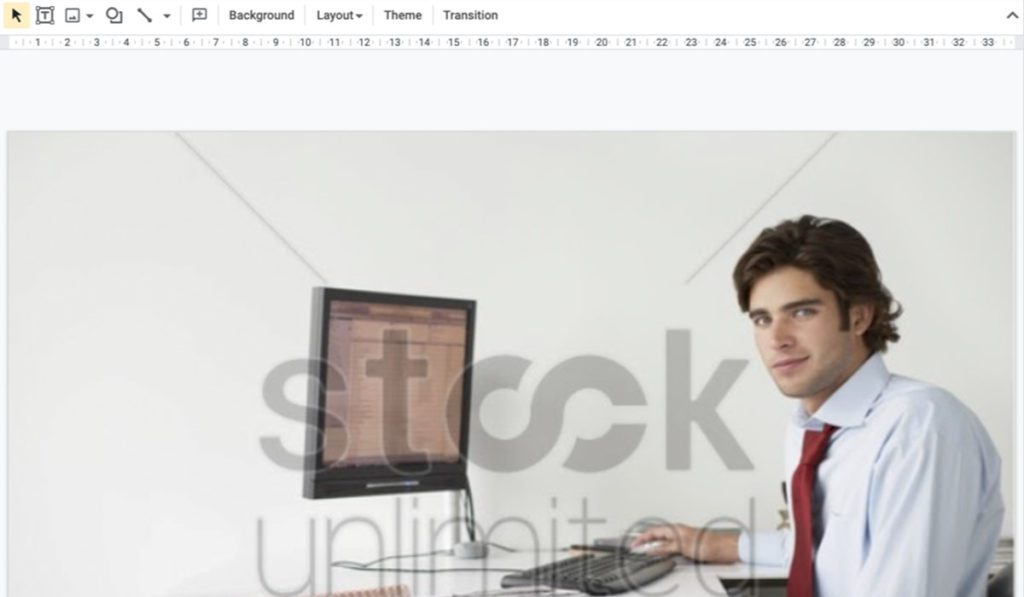
A simpler approach is to look for images online, and paste them into each slide. You can either google the images, or search the vast catalogue of stock images websites to find the one that perfectly fits your vision. You don’t have to buy these images, you can simply use them as placeholders like this.
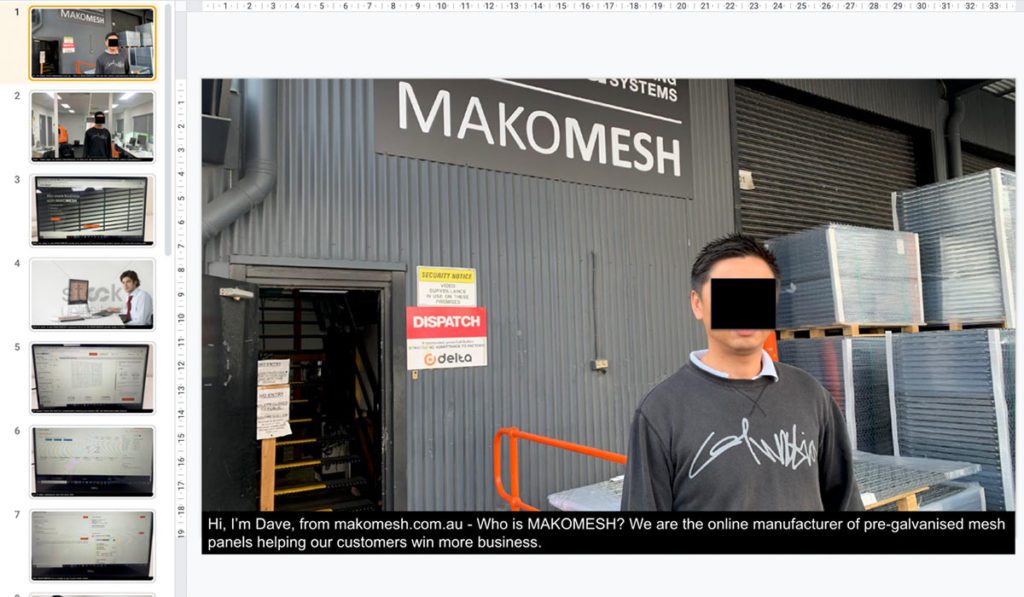
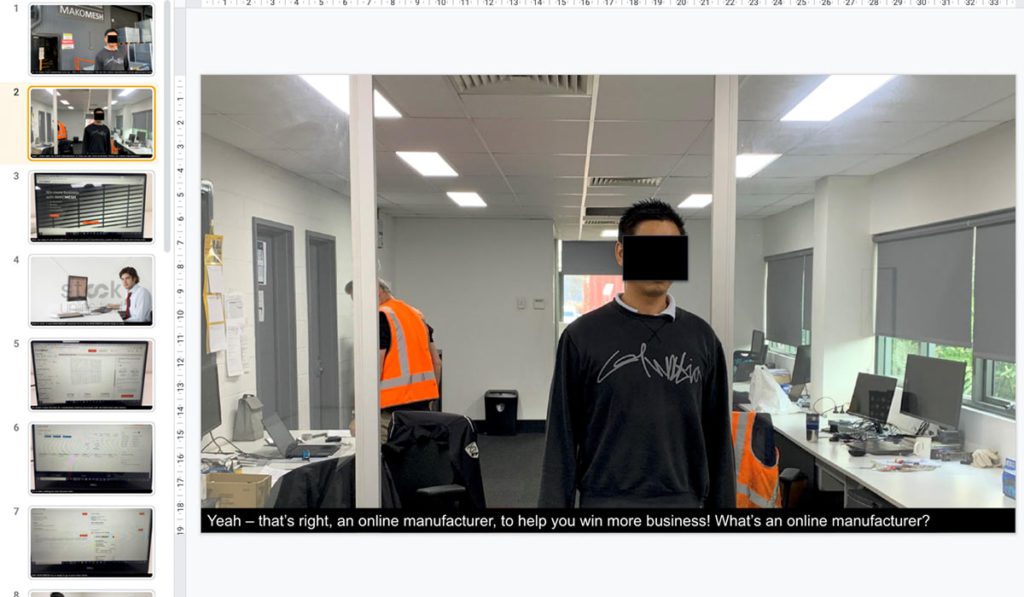
If you have access to the location where you’re likely to shoot the video, a great approach is to take pictures of the exact shot you want. This will be your best approach if you really want your storyboard to look as close as possible to the final video.
Here’s a couple of Powerpoint slides examples that we used during one of our video productions.
And this is the final video.
As you can see, the first two shots of the video have been taken exactly where the storyboard’s pictures were taken, helping us visualise the video before filming.
What happens to the video annotations?
You can either discard them once they’re replaced by the exact image you want, or you can keep them. Your choice.
4. Production notes
Your storyboard is almost ready. It’s now time to enrich it with production notes for each shot. These notes can include:
- actor positioning and movement
- lighting notes
- framing
- lens choice and camera settings
- time of the day for best outdoor lighting
- props, furniture positioning
- audio recording notes
If you really want to be in control of the whole video production process, for every shot of the storyboard you can be super detailed, or you can choose to leave some creative decisions to your videographer/producer.
Conclusions
As you can see, creating a storyboard for video production is not as difficult as you thought. It sure takes some commitment, time and effort, but the whole process will eventually be massively beneficial.
With a storyboard, everyone on set will have a clear understanding of what’s happening next, and because of that, the video production process will be smoother.